☀️ Introduction: Why Plug and Play Solar Kits Are So Popular
Plug-and-play (PnP) solar kits are revolutionizing renewable energy adoption in urban Europe, especially for renters and apartment dwellers. These all-in-one systems require minimal tools, no electrician license, and offer fast returns on investment thanks to reduced grid reliance.
This guide walks you through a safe, step-by-step process for installing your PnP solar system on a European-style balcony in 2025. It includes links to safety regulations, equipment checklists, and tips from solar experts.
? Step 1: Check Local Regulations
Before installing, verify your country’s and city’s solar laws:
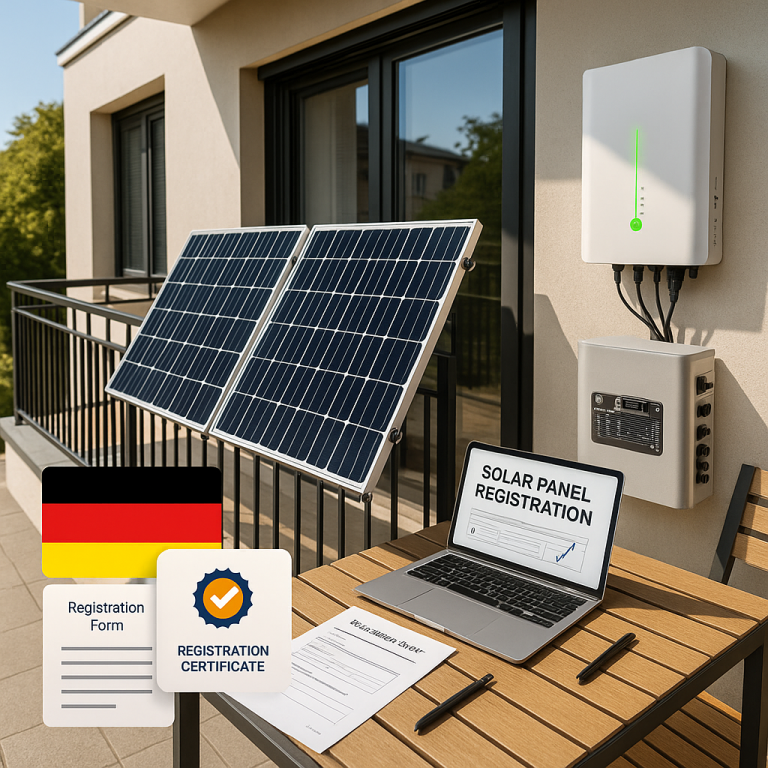
- In Germany, plug-in solar kits must be registered with MaStR (Marktstammdatenregister).
- In France, a declaration to the energy provider (ENEDIS) is typically required.
- In Austria, balcony kits are often permitted without registration under a certain wattage.
? Germany’s official MaStR registration page
? Step 2: Select the Right Solar Kit
Your kit should include:
- 1–2 solar panels (typically 300W–400W each)
- Microinverter (e.g., JYH-Inverter series)
- Mounting brackets (balcony rail or stand)
- Connection cable (Schuko plug or Wieland)
- Optional: LiFePO4 battery (e.g., JYH-EB2048)
✅ Ensure the system is CE certified and complies with VDE-AR-N 4105 standards.
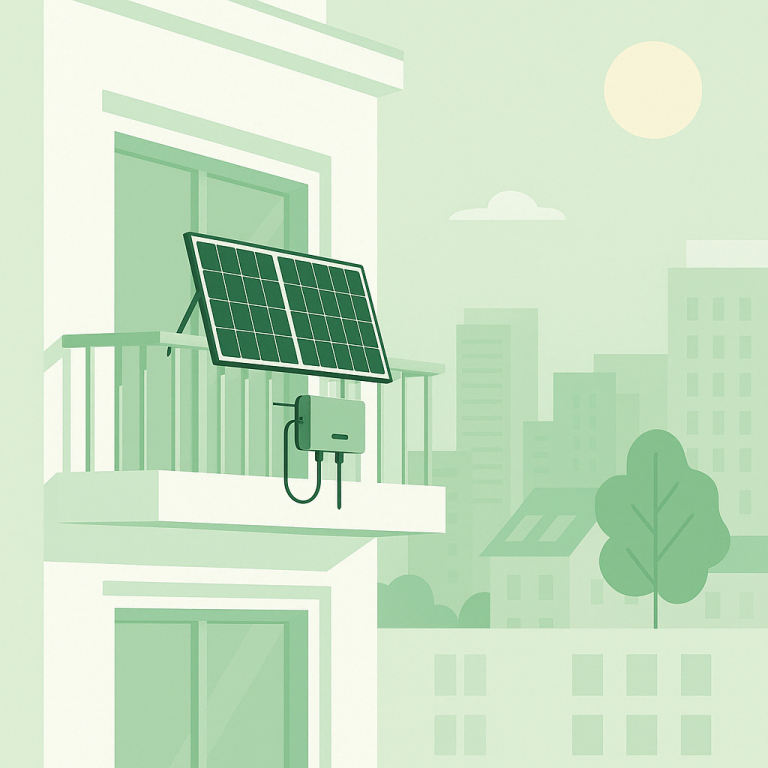
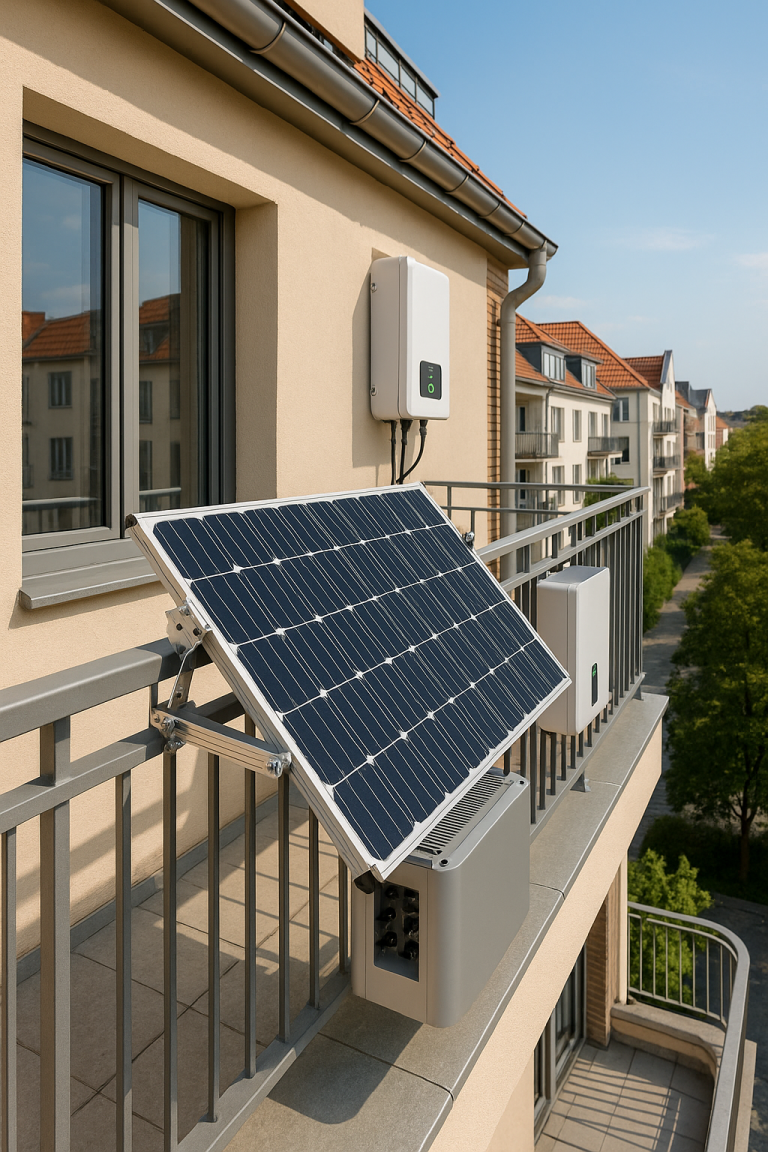
? Step 3: Mount the Panels Safely
- Choose a sunny, unobstructed spot on the balcony railing.
- Use rail mounting clamps or freestanding A-frame stands.
- Secure panels with bolts and weather-resistant hardware.
? Tools Needed: adjustable wrench, screwdriver, level
? Tip: Angle panels at ~30–45° for optimal seasonal performance.
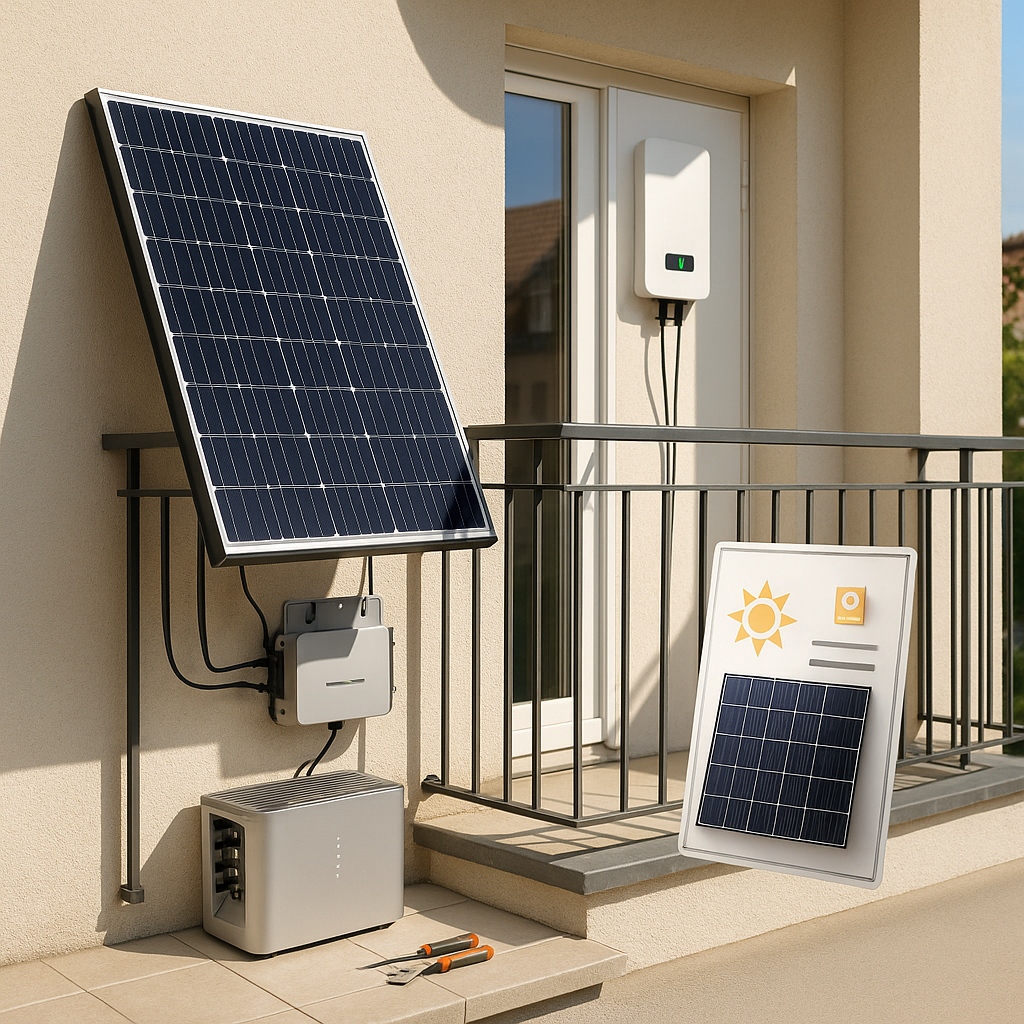
? Step 4: Connect the Inverter
- Attach the microinverter to the back of the panel securely.
- Connect the inverter DC input to the panel’s output.
- Plug the inverter AC cable into the Wieland or Schuko outlet.
⚠️ Important: Use a fused socket if required by local code.
? Wieland plug overview and benefits
? Step 5: Optional Battery Integration
If adding storage:
- Install a LiFePO4 battery like JYH-EB2048 indoors near the inverter.
- Use a charge controller to regulate input from the panel.
- Connect battery to inverter if it supports hybrid integration.
? Batteries increase energy independence and allow nighttime use.
? Step 6: Test & Monitor Your System
- Check inverter display or app for power generation data.
- Ensure secure connections and monitor over 2–3 days.
- Optional: Connect to smart home apps for automation.
? EU Energy Efficiency Monitoring Standards
? Conclusion: Go Solar, the Smart Way
Installing a plug-and-play solar kit on your balcony is one of the simplest, safest, and smartest ways to participate in the renewable energy transition in Europe.
Whether using the efficient JYH-Inverter or adding a modular JYH-EB2048 battery, you’re taking real steps toward self-sufficiency and sustainability.
For more insights on product options, visit our blog or contact our solar advisors.