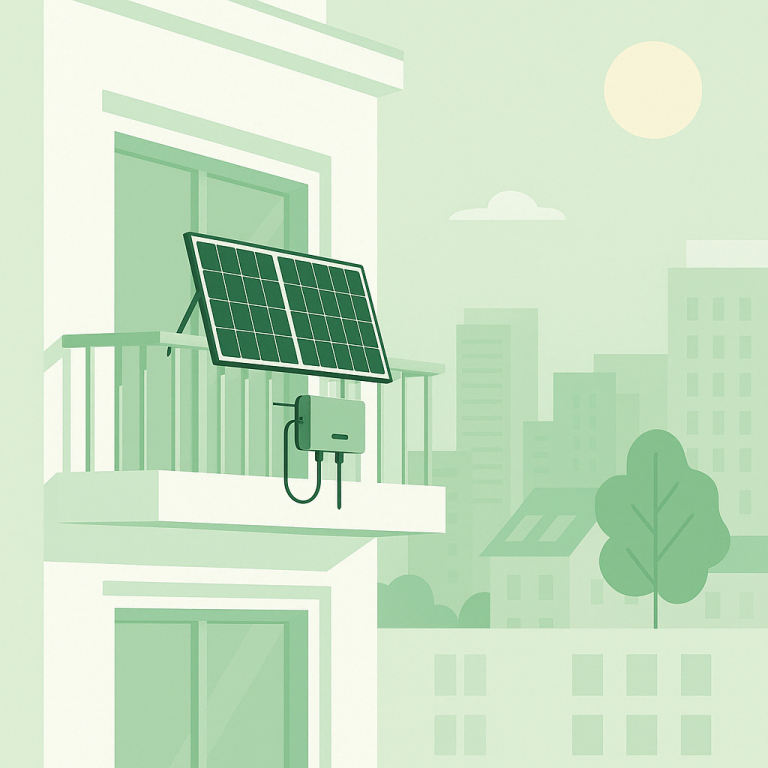
1. Introduction: Why Upgrade Your Balcony Solar System?
If you’ve already made the step toward solar energy with a balcony solar system, congratulations! You’re already on the path to reducing your carbon footprint and decreasing your electricity bills. However, with increasing energy demands and higher utility prices across the EU, you may find that your existing system could benefit from an upgrade — particularly by adding battery storage.
Upgrading your solar system with a battery storage solution allows you to store excess energy generated during the day, which you can use at night or during power outages. In addition, this gives you greater control over your energy consumption, and can significantly improve your system’s overall efficiency.
In this guide, we’ll walk you through the process of upgrading an existing balcony solar system with battery storage. Whether you’re a DIY enthusiast or working with a professional installer, this guide is tailored for EU homeowners who want to maximize their solar investment.
2. Understanding the Key Components of a Balcony Solar System
Before diving into the upgrade process, let’s break down the essential components of a typical balcony solar system:
✅ Solar Panels
The solar panels are the core of the system, converting sunlight into electricity. Most EU balcony systems use small, lightweight panels designed to fit on apartment balconies or small rooftops.
✅ Inverter
The inverter converts the direct current (DC) produced by the solar panels into alternating current (AC), which is used by household appliances.
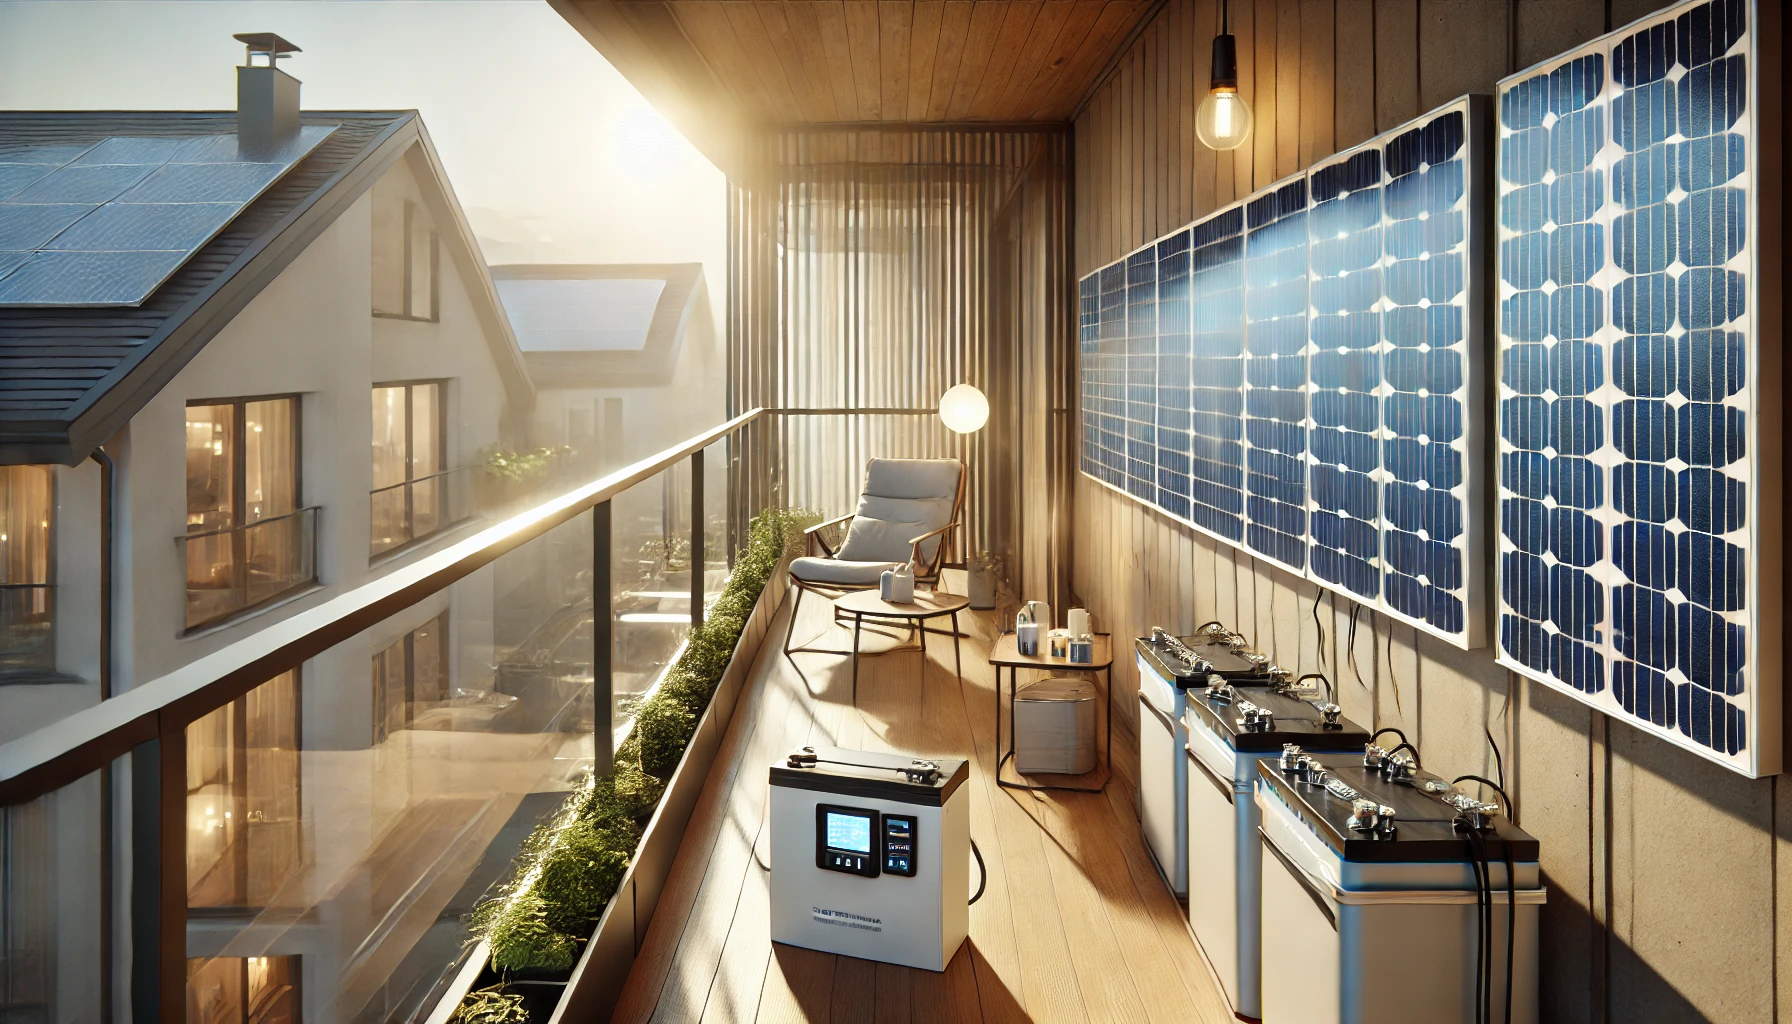
✅ Battery Storage
A battery storage system stores the excess solar energy that isn’t immediately used. This stored energy can be used when the sun isn’t shining, such as during the night or on cloudy days.
✅ Charge Controller
The charge controller ensures the battery is charged correctly, managing the power flow from the solar panels to the battery. It also prevents overcharging, which can shorten the life of the battery.
3. Why Add Battery Storage to Your Balcony Solar System?
There are several reasons why integrating battery storage into your existing solar system is a smart move:
✅ Maximize Self-Consumption
By storing energy during the day, you can use it when you need it most, especially in the evening when electricity prices are typically higher.
✅ Energy Independence
Battery storage allows you to become less reliant on the grid. This is especially useful in areas with frequent power outages or during energy price fluctuations.
✅ Eco-Friendly
Battery storage lets you use more of your clean solar energy, reducing your reliance on fossil fuels and further decreasing your environmental impact.
4. Step-by-Step Guide: How to Upgrade Your Balcony Solar System
Now, let’s dive into the step-by-step process of upgrading your balcony solar system with battery storage. These instructions will help guide you through the installation process, whether you’re doing it yourself or hiring a professional.
✅ Step 1: Assess Your Existing System’s Capacity
Before you purchase a battery storage system, it’s essential to evaluate your current solar panel setup. Some questions to ask:
- How much energy do your solar panels currently produce?
- How much energy do you consume on a daily basis?
- Do you have enough space to install additional components like the battery?
✅ Step 2: Choose the Right Battery Storage System
The next step is selecting the right battery storage system for your needs. Here’s what to look for:
- Capacity: Choose a battery with enough capacity to store excess energy generated by your panels. Typical EU balcony systems use LiFePO₄ (Lithium Iron Phosphate) batteries for their long life cycles and safety.
- Compatibility: Ensure the battery system is compatible with your current solar panels and inverter.
- Modularity: Many battery systems allow for modular expansion, so you can add more capacity if your energy needs grow.
If you’re considering
LiFePO₄ batteries
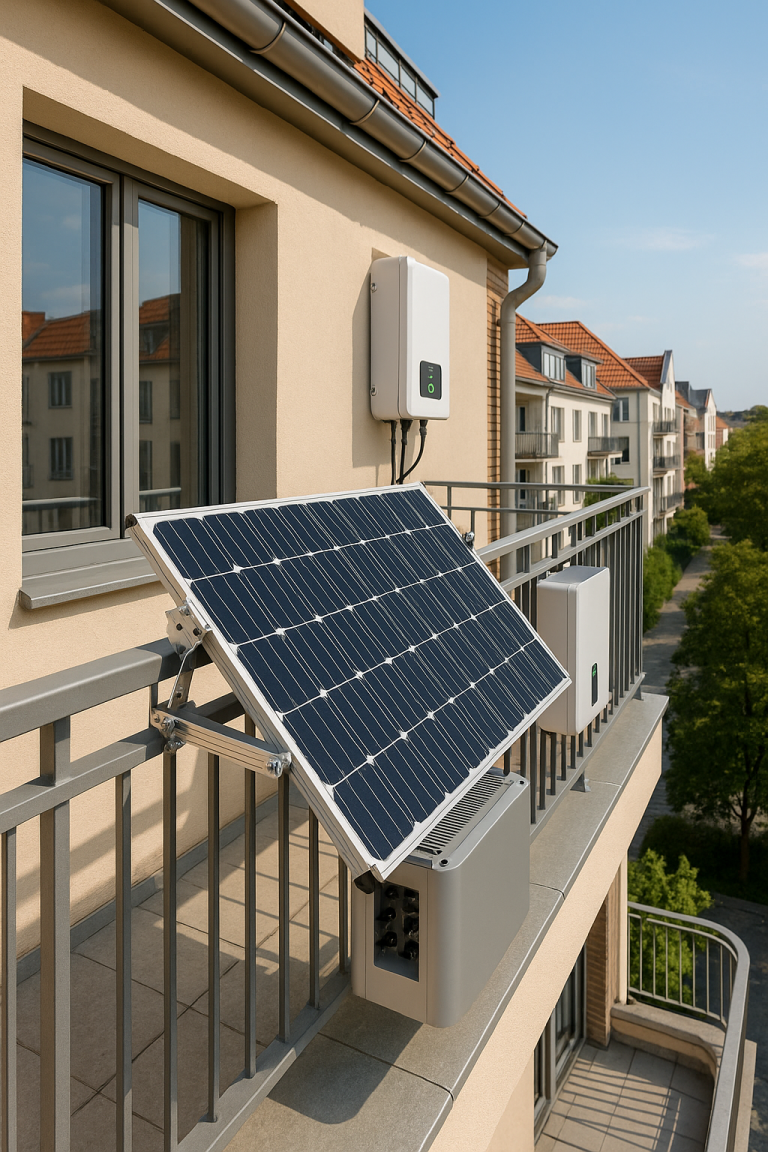
✅ Step 3: Install the Battery Storage System
For the DIY approach, installation typically involves the following steps:
- Position the Battery: Place the battery in a well-ventilated, safe location, such as near your solar inverter.
- Wiring the System: Connect the battery to the charge controller, and then connect the controller to the solar inverter.
- Testing the System: Once everything is connected, power up the system to ensure the battery is charging correctly and that energy is being stored.
If you’re not comfortable with electrical work, it’s best to hire a certified installer.
✅ Step 4: Optimize Your System
After installing the battery, it’s essential to optimize your system’s energy use:
- Monitor Energy Flow: Use the battery management system (BMS) or monitoring app to track how much energy is being generated, stored, and used.
- Adjust Settings: Some systems allow you to prioritize using battery power during peak electricity prices to maximize savings.
Want more details on
battery management systems
5. Key Considerations When Upgrading Your Solar System
Upgrading your balcony solar system is a big investment, so it’s important to make informed decisions:
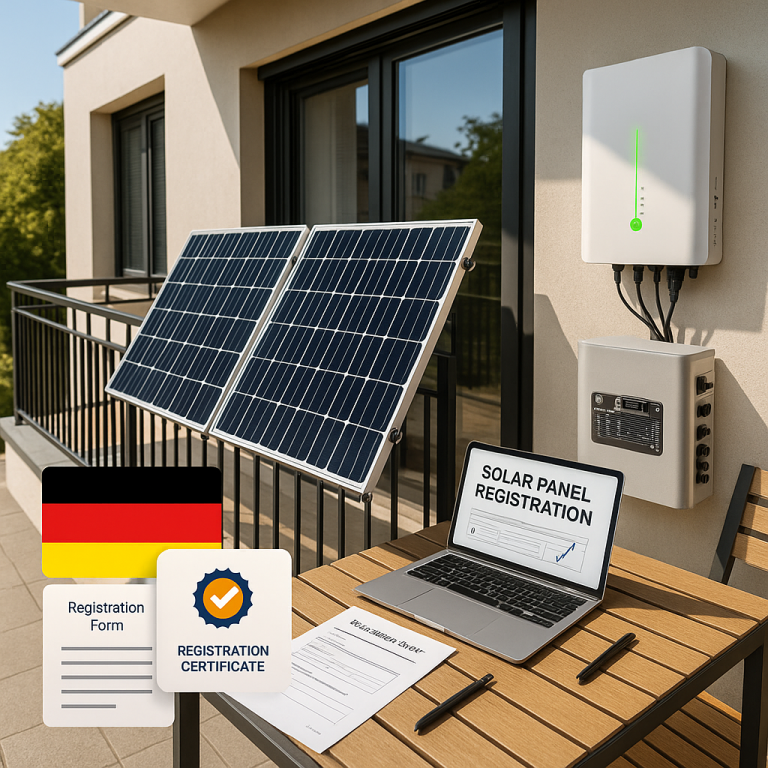
- Local Regulations: In some EU countries, adding battery storage may require permits. Make sure to check with your local authority.
- Safety: Ensure all components, including the battery, are certified for use in your area. This helps avoid safety hazards and ensures long-term system performance.
- Cost-Benefit Analysis: Calculate the potential ROI of the battery storage system based on your energy savings.
6. Conclusion: Embrace the Future of Solar Energy
Upgrading your balcony solar system with a battery storage solution is one of the smartest decisions you can make to increase your energy independence, improve system efficiency, and reduce reliance on the grid. Whether you’re looking to take the DIY route or hire a professional installer, this upgrade will allow you to enjoy a more efficient, reliable, and eco-friendly energy system.